Create your own action#
Tip
See our recent blog post for an example action that creates events on ingested data.
Introduction#
In this guide, we will create a simple Roboto Action that tags a dataset if a specific keyword is found in a log file.
While this is a basic example, it can be expanded for more advanced log post-processing. For example, you could calculate metrics based on log contents and create events if certain values exceed predefined thresholds.
Here’s what we’ll cover:
Initializing a new action using the Roboto CLI with
roboto actions initUnderstanding the generated project structure and updating the action code
Testing the action locally with
roboto actions invoke-localDeploying the action to Roboto
Invoking the action on hosted compute and setting up triggers
The roboto actions init command generates DEVELOPING.md and README.md files with comprehensive, up-to-date documentation on how to write a Roboto Action. This guide provides a practical walkthrough, but refer to those files for complete reference information.
You can find the complete code for this example on GitHub: roboto-example-action.
Prerequisites#
Ensure you have a Roboto Account.
Set up Programmatic Access to generate an access token and install the Roboto CLI.
Install Docker and have it running on your computer.
Ensure you have completed Docker’s post-installation steps before proceeding.
Note
Windows users: This guide uses bash shell scripts (./scripts/*.sh).
On Windows, use WSL2
with Docker Desktop’s WSL2 backend.
Run all commands from a WSL2 terminal.
Initialize#
Use the Roboto CLI to initialize a new Roboto Action:
$ tmpdir=$(mktemp -d) && cd "$tmpdir"
$ roboto actions init
This will present you with four prompts:
Action name: Required. The name will be
kebab-casedas the Action’s identifier when deployed to your Roboto account, andsnake_casedwhen used as a Python package name. It will be used throughout the generated code and will be cumbersome to change.Description: Optional, defaults to
""(empty string). Provide a brief description of what your action does. The description is added to the action’sREADME.mdandaction.json. It will be trivial to add or update later.Input data type: Optional, defaults to
"Files...". Choose between"Files..."(for processing file contents) or"Topics..."(for processing individual signals extracted from files; experimental). This primarily affects the example code with which your action is generated.Git repository initialization: Optional, defaults to
y. Chooseyto initialize a git repository. If creating a new action in an already initialized git repository (perhaps alongside other Roboto Actions), choosen.
Press Enter to accept default values for non-required prompts, e.g.:
Creating Roboto action package under: /tmp/tmp.1rkb1hxRDL
[1/4] Action name (...): Tag Dataset
[2/4] Description ():
[3/4] What type of resource will this action take as input data?
    1 - Files that have been uploaded or ingested
    2 - Topics created by ingestion (experimental)
    Choose from [1/2] (1):
[4/4] Initialize a git repository in the new project directory? [y/n] (y):
After initialization, a new project will be created with the following structure:
tag-dataset/
├── action.json
├── DEVELOPING.md
├── Dockerfile
├── .python-version
├── pyproject.toml
├── README.md
├── scripts/
│   ├── build.sh
│   ├── deploy.sh
│   ├── setup.sh
│   └── verify.sh
├── src/
│   └── tag_dataset/
│       ├── bin/
│       │   ├── entrypoint.py
│       │   └── __init__.py
│       ├── __init__.py
│       ├── logger.py
│       └── main.py
└── test/
    └── test_main.py
The key components of the project include:
action.json: Defines the Action, including its description and parameters. See the Action Configuration reference for the complete schema.DEVELOPING.md: Comprehensive documentation on the project structure and development workflow.Dockerfile: Contains the configuration for the action’s Docker image.pyproject.toml: Defines Python dependencies and project metadata.scripts/: Utility scripts for building, deploying, verifying, and setting up the action for local development.src/: Contains the Python code specific to the action.test/: Contains test files for your action.
Prepare a virtual environment#
From the root of the newly generated action, run the setup script to prepare a virtual environment, and install any dependencies specified in pyproject.toml:
# Move to the root of the newly generated action
$ cd tag-dataset
$ ./scripts/setup.sh
After running the setup script, you can configure your IDE to use the Python interpreter at .venv/bin/python3 for proper import resolution.
Update the action’s code#
Replace the code in src/tag_dataset/main.py with:
import roboto

from .logger import logger


def main(context: roboto.InvocationContext) -> None:
    logger.setLevel(context.log_level)

    # 1: Look up the keyword to search for in the logs from the action's runtime parameters.
    # Default to "ERROR" if the `"keyword"` parameter is not provided.
    keyword = context.get_optional_parameter("keyword", "ERROR")

    # 2: Iterate over log files provided to the action at runtime.
    for _, log_path in context.get_input().files:
        if not log_path:
            raise ValueError(
                "Expected 'log_path' to be a pathlib.Path. "
                "If 'requires_downloaded_inputs' is assigned a value in 'action.json', "
                "it should be 'true' for this example."
            )

        # 3: A `pathlib.Path` pointer to the log file downloaded into the action's runtime workspace is provided by Roboto.
        with log_path.open("rt", encoding="utf-8") as file_handle:
            for log_line in file_handle:
                if keyword and keyword in log_line:
                    logger.info("Found '%s' in log file.", keyword)

                    # 4: If running the action locally, skip adding tags to a dataset if the `--dry-run` flag is provided.
                    if context.is_dry_run:
                        logger.info("DRY RUN: not modifying dataset tags")
                    else:
                        context.dataset.put_tags([keyword])

                    return

            logger.info("'%s' not found in log file.", keyword)
Key points about the code structure:
Your
main.pyfile must export amain()function with the signature:def main(context: roboto.InvocationContext) -> NoneThe
InvocationContextobject provides access to input data, parameters, and dataset information (if relevant).
Working with action parameters#
Actions can define required or optional parameters (similar to function arguments) that customize their behavior.
Parameters are defined in action.json and accessed via InvocationContext methods.
Defining parameters:
Add the following "parameters" array to action.json:
{
    "name": "tag-dataset",
    ...
    "parameters": [
        {
            "name": "keyword",
            "description": "The keyword to search for in log files",
            "default": "ERROR"
        }
    ]
}
Accessing parameters in your code:
Required parameters:
context.get_parameter("<parameter_name>")Optional parameters:
context.get_optional_parameter("<parameter_name>", "<optional_default_value>")Secrets:
context.get_secret_parameter("<parameter_name>")
Refer to InvocationContext documentation for more information.
Verify your code#
Before going further, run the verification script to check for linting errors and run tests:
$ ./scripts/verify.sh
This script runs:
rufffor linting and code formatting checkspytestfor running your tests
Your action is generated with one test that asserts the main module exports a main function with the expected interface.
Add additional tests to verify that your action accomplishes what you expect.
Create a log file and dataset#
To test the action we just created, we can create a fake log file. Run this command in your terminal to create a log.txt file:
$ ( for i in {1..10}; do echo "$(date '+%Y-%m-%d %H:%M:%S') - INFO - Log message $i"; done; echo "$(date '+%Y-%m-%d %H:%M:%S') - ERROR - An error occurred"; echo "$(date '+%Y-%m-%d %H:%M:%S') - WARNING - A warning occurred"; for i in {11..20}; do echo "$(date '+%Y-%m-%d %H:%M:%S') - INFO - Log message $i"; done; ) > log.txt
Now create a dataset:
$ roboto datasets create
You will get an output like this:
{
   ...
   "dataset_id": "ds_bopf33kzwisr",
   ...
}
Copy the dataset_id and use it to upload the log.txt file:
$ roboto datasets upload-files -d <dataset_id> -p ./log.txt
You can verify that the file was uploaded by running:
$ roboto datasets list-files -d <dataset_id>
Invoke your action locally#
Before deploying to Roboto’s hosted compute, you can test your action locally using roboto actions invoke-local.
Basic usage:
# See all available options
$ roboto actions invoke-local --help
Specifying input data:
There are three ways to specify input data:
--file-query: RoboQL query for selecting files (for “file-based” actions)--topic-query: RoboQL query for selecting topics (for “topic-based” actions; experimental)--datasetwith--file-path: Specific files from a dataset
In this example, we’ll use the --dataset and --file-path options to select the log file we just uploaded:
$ roboto --log-level=info actions invoke-local --dataset=<dataset_id> --file-path='*.txt' --dry-run
If your action reads topic data from files that Roboto has already ingested, you don’t need to download the raw input files locally. To disable local downloads, set "requires_downloaded_inputs": false in your action.json.
Modifying the keyword parameter:
Specify WARNING as the new keyword to search for in our example log file using the action parameter defined in action.json:
$ roboto --log-level=info actions invoke-local --parameter keyword=WARNING --dataset=<dataset_id> --file-path='*.txt' --dry-run
Dry-run mode:
Use the --dry-run flag to test your action without side effects.
As shown in this example action, your action code can check context.is_dry_run to conditionally skip operations that modify Roboto resources.
Build and deploy to your Roboto account#
After testing your action locally, you can deploy it to Roboto. This makes it available for invocation on hosted compute and for use in triggers. In the project root, run:
$ ./scripts/deploy.sh
This will:
1. Build a Docker image called tag-dataset with the tag latest, and push it into Roboto’s private Docker image registry.
2. Create an action in your Roboto account named tag-dataset, or update an existing tag-dataset action with any changes made to action.json.
For multi-organization users:
If you belong to multiple Roboto organizations, you can specify the target organization in two ways:
# Method 1: Environment variable
$ ROBOTO_ORG_ID=your-org-id ./scripts/deploy.sh

# Method 2: Command argument
$ ./scripts/deploy.sh your-org-id
For detailed deployment information, see the ‘Build and Deployment’ section in your generated DEVELOPING.md.
Invoke the action on hosted compute#
After testing locally and deploying the action to your Roboto account, you can invoke the action on Roboto’s hosted compute.
Invoking the action:
$ roboto actions invoke tag-dataset --dataset=<dataset_id> --file-path='*.txt'
You will get an invocation_id in the output. You can use this to check the status of the invocation:
$ roboto invocations status --tail <invocation_id>
and also to follow the invocation logs in real time:
$ roboto invocations logs --tail <invocation_id>
Once the invocation is complete, verify the expected tag was added to the dataset:
$ roboto datasets show -d <dataset_id>
You should see the following output:
{
    ...
    "tags": [
        "ERROR"
    ],
   ...
}
You can also go to your account on Roboto to inspect the dataset and see the new tag:
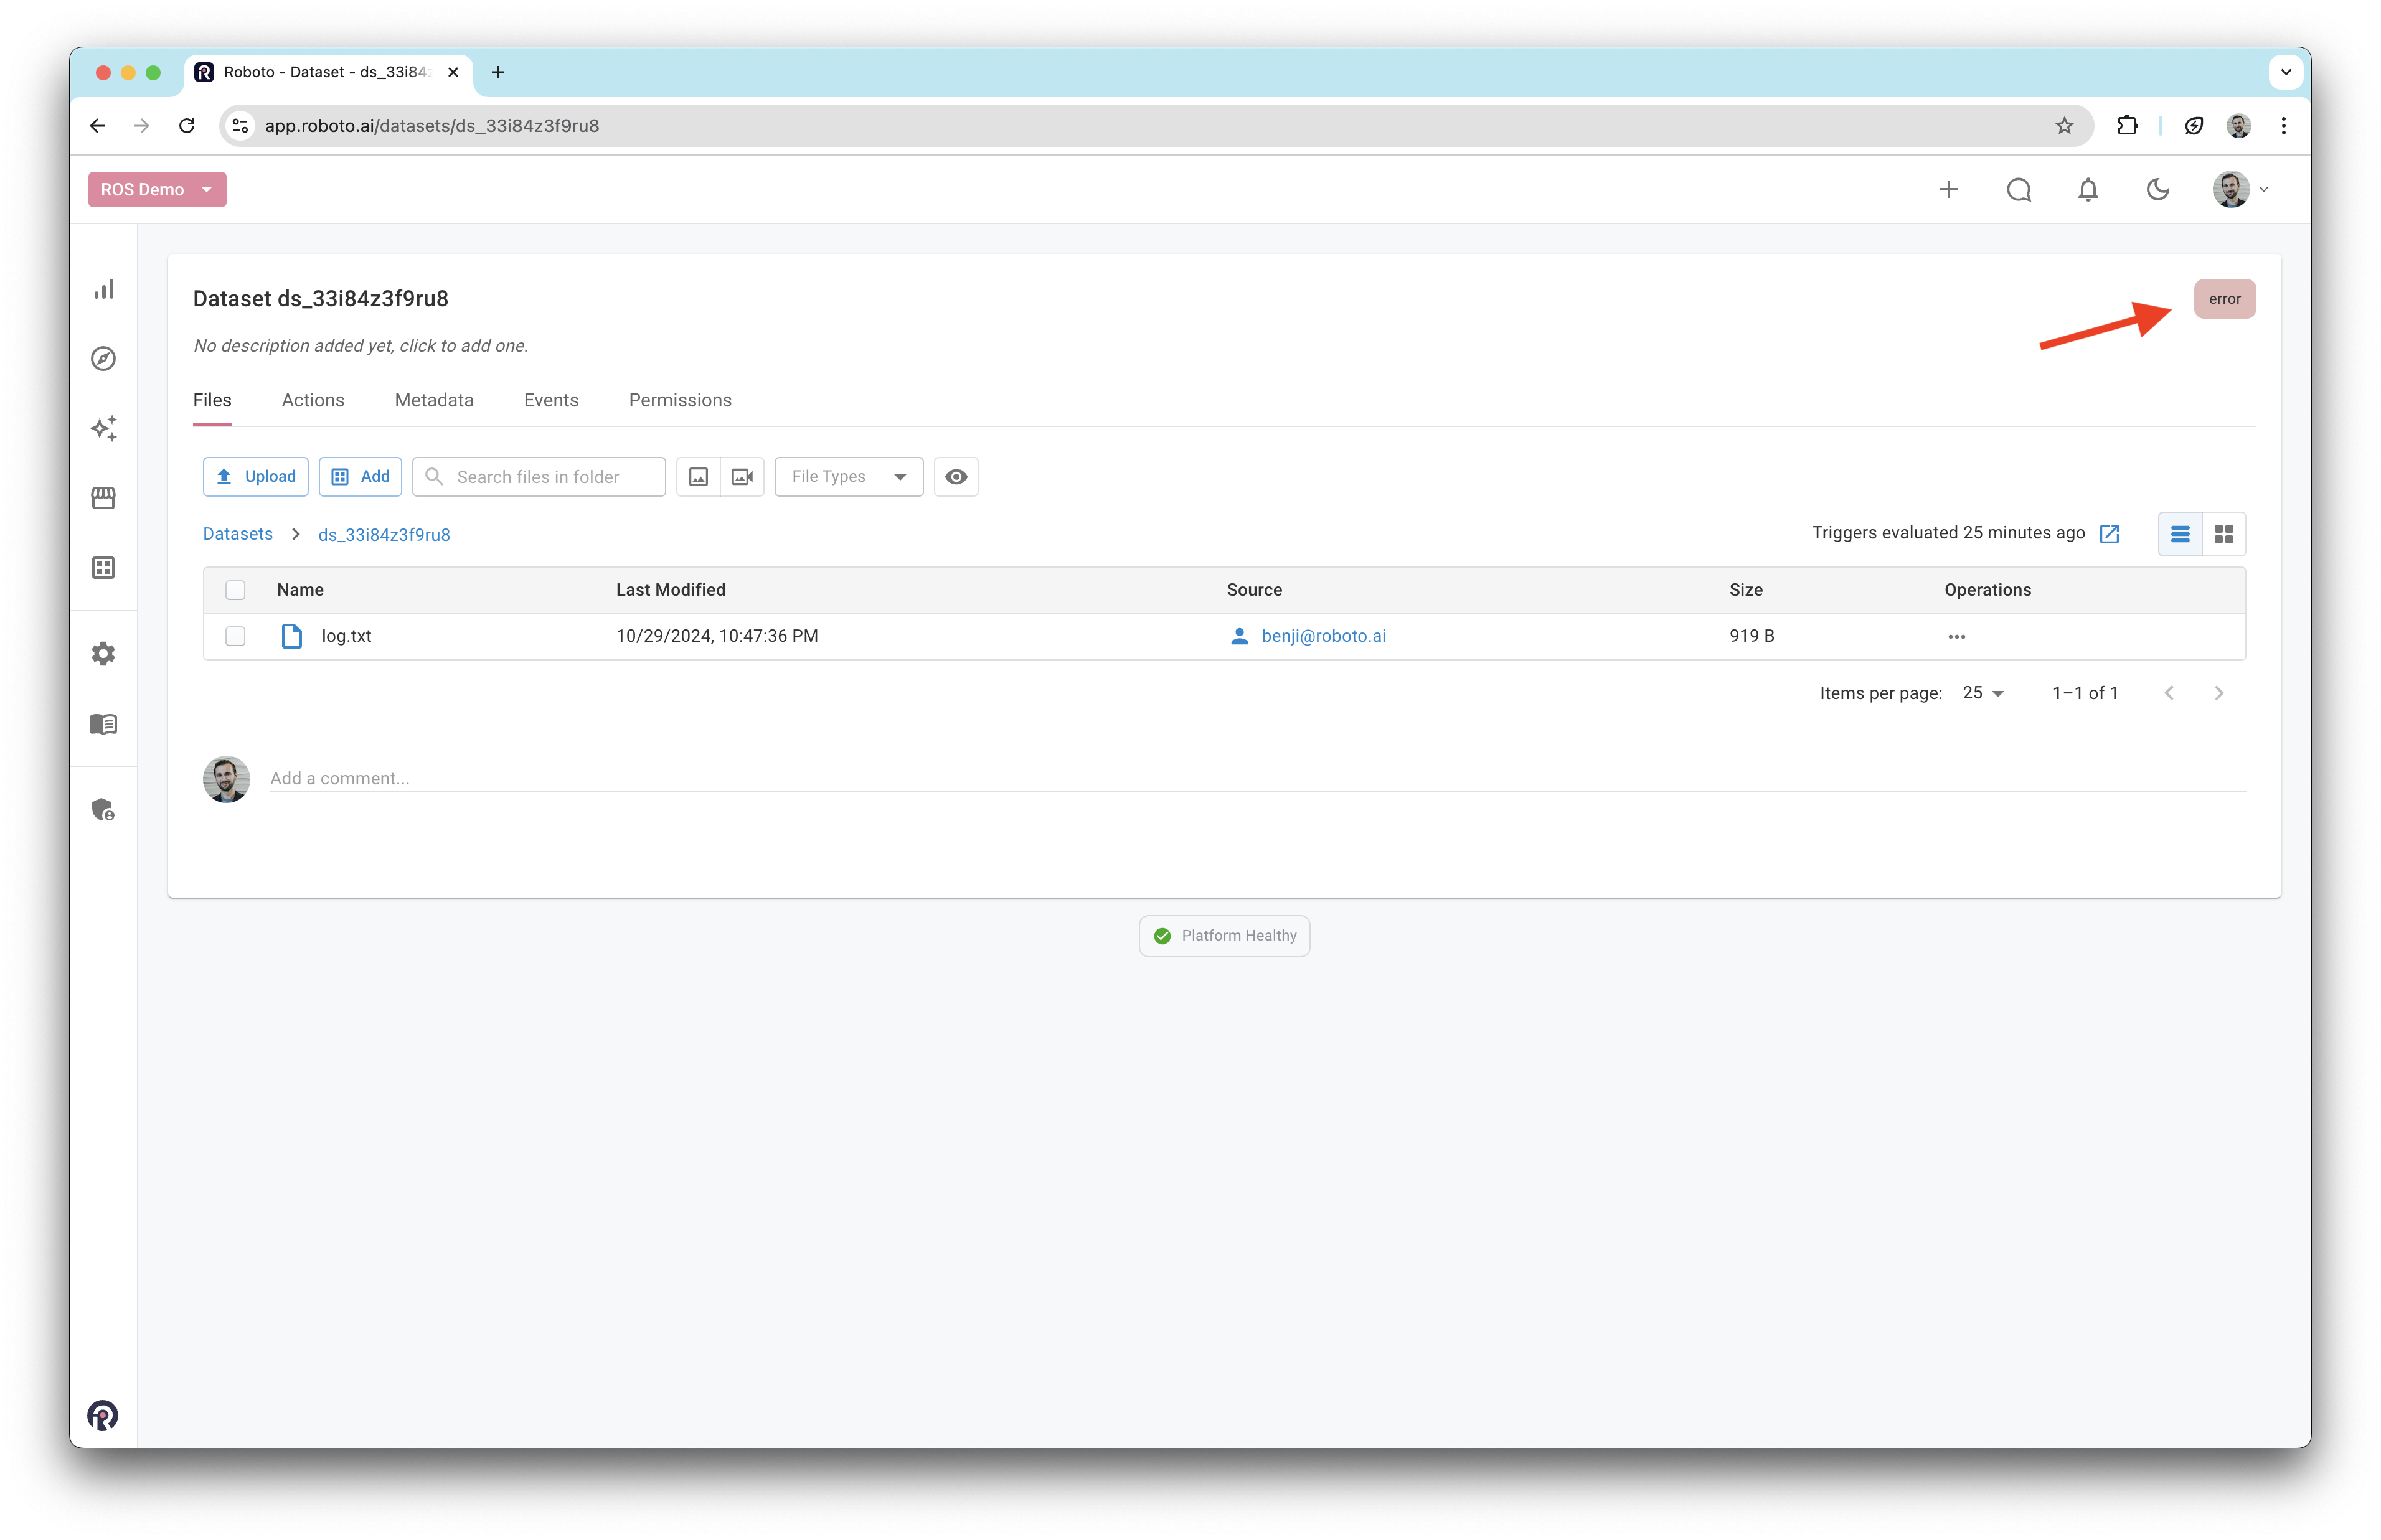
Create a trigger (optional)#
Tip
Triggers enable you to run an action automatically when a new file that meets certain conditions is uploaded to a dataset.
In this example, we will set up a trigger that automatically runs our action when a file with the name log.txt is uploaded to a new dataset.
$ roboto triggers create --name tag-dataset --action tag-dataset --required-inputs 'log.txt' --for-each dataset_file
To test it, create a new dataset and upload a log.txt file to it.
That’s it!#
You’ve now created your own custom Roboto Action, including automated tagging for datasets. With this setup, you can explore the full flexibility of Roboto Actions—whether for processing, transforming, or analyzing your data.
Roboto Actions are general-purpose and can handle a wide range of tasks. You can refer to the Python SDK reference for more details on available commands and explore ways to manipulate datasets, files, topics, and more directly within your action. This flexibility enables powerful workflows for automating and scaling your data operations.